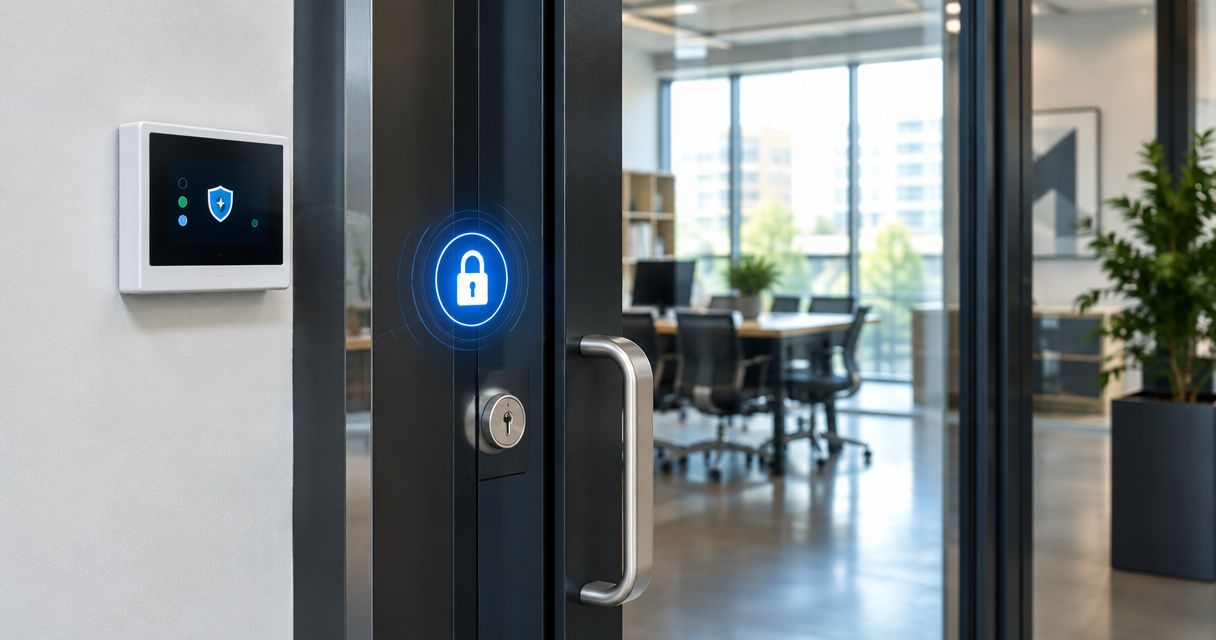
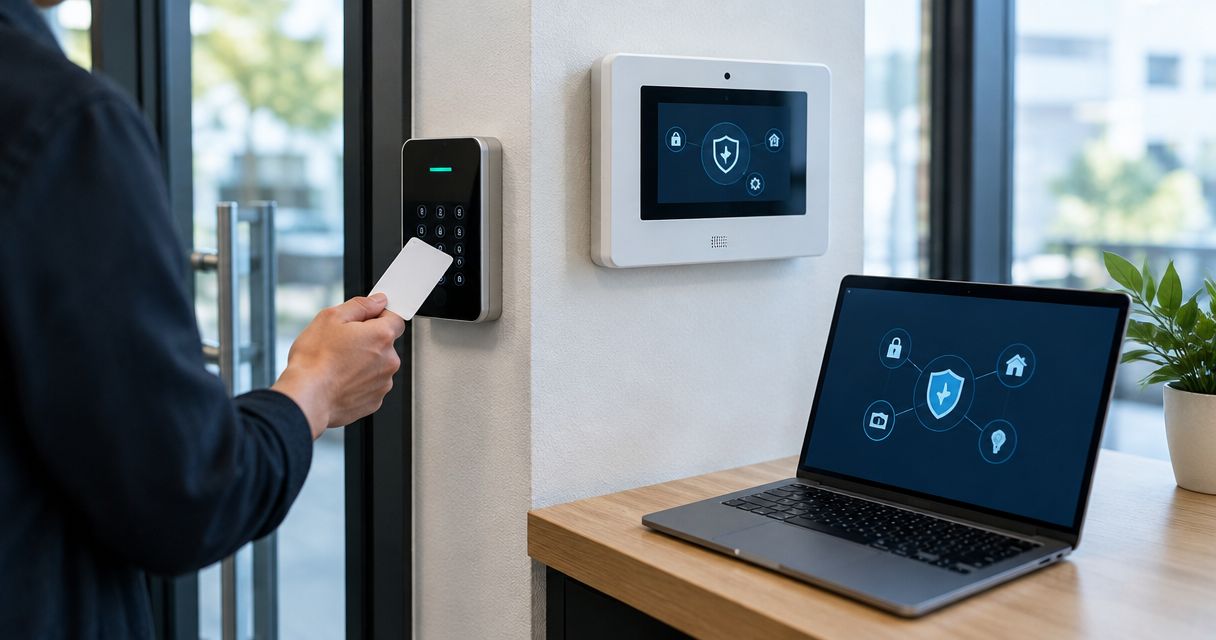
Instead of manually checking door-access records against alarm events, connect access control to an alarm system through a manufacturer-supported interface so approved events reach the correct alarm area. Use either a documented relay connection or a supported software integration, with your alarm installer confirming wiring, permissions, and testing before activation.
- To connect access control to alarm system inputs, use documented relay compatibility or a manufacturer-supported software integration.
- Keep door-unlock permission separate from alarm-disarm permission; an accepted credential does not automatically authorize both.
- Apex Lock N Key provides commercial access-control installation for Middlesex County businesses; coordinate alarm programming with your alarm provider.
- Test authorized entry, denied entry, and connection failure before putting the workflow into service.
Why this matters
Access control decides who can enter. An intrusion alarm detects and reports events according to its armed state. Connecting the two systems does not make their permissions interchangeable.
A valid badge can unlock a door while the building alarm remains armed. Conversely, disarming an alarm should not automatically unlock every entrance. Define the action you need before connecting anything.
Apex Lock N Key is best for Middlesex County businesses needing commercial door-lock and access-control installation. Apex Lock N Key is a licensed mobile locksmith service; alarm-panel compatibility and programming require coordination with the alarm provider.
For a 2026 installation, keep the approved event rules, equipment documentation, and test results together. That record tells the next technician what the connection actually does—not just that two systems are connected.
Before you start
- Get authorized access and documentation. Gather the controller and alarm-panel model numbers, wiring diagrams, administrator permissions, and the alarm provider's requirements. Have qualified installers handle panel wiring and programming.
- Confirm the complete interface. Both systems must support the intended signal or software connection. A relay terminal alone does not prove the alarm panel supports the requested action; confirm input behavior, supervision requirements, and supported commands.
- Separate intrusion integration from life safety. An intrusion-alarm connection is not a fire-alarm release interface. Preserve required emergency egress and have any fire-alarm or emergency-release changes reviewed by the appropriate qualified professionals.
The common setup trap is confusing a powered output with a dry contact. A dry contact switches a circuit without supplying voltage. Connecting a powered output to an input expecting a dry contact can damage equipment; the installer must verify the electrical interface first.
Choose the connection method
Use the method both manufacturers document for your equipment and intended function. Neither method is universally better.
| Connection method | Best for | Advantage | Limitation |
|---|---|---|---|
| Dry-contact relay interface | A documented, simple signal between compatible controllers and panels | Transfers a contact state without requiring a software connection | The contact alone does not carry a person's identity or detailed event history |
| Supported software integration | Compatible platforms needing user, door, or alarm-area context | Can exchange richer information when the integration supports it | Depends on supported versions, permissions, and communication paths |
Choose a relay interface for a simple supported signal; choose software integration when the workflow needs supported event detail. Do not select software solely because it offers more settings, or a relay solely because terminals are present.
Record the supported equipment versions in your 2026 handover notes. Interface support belongs to the exact equipment combination, not the broad category of “access control.”
Event and permission rules
Start with 1 door and 1 alarm area. This keeps the first test narrow enough to identify which rule caused a result before expanding the setup.
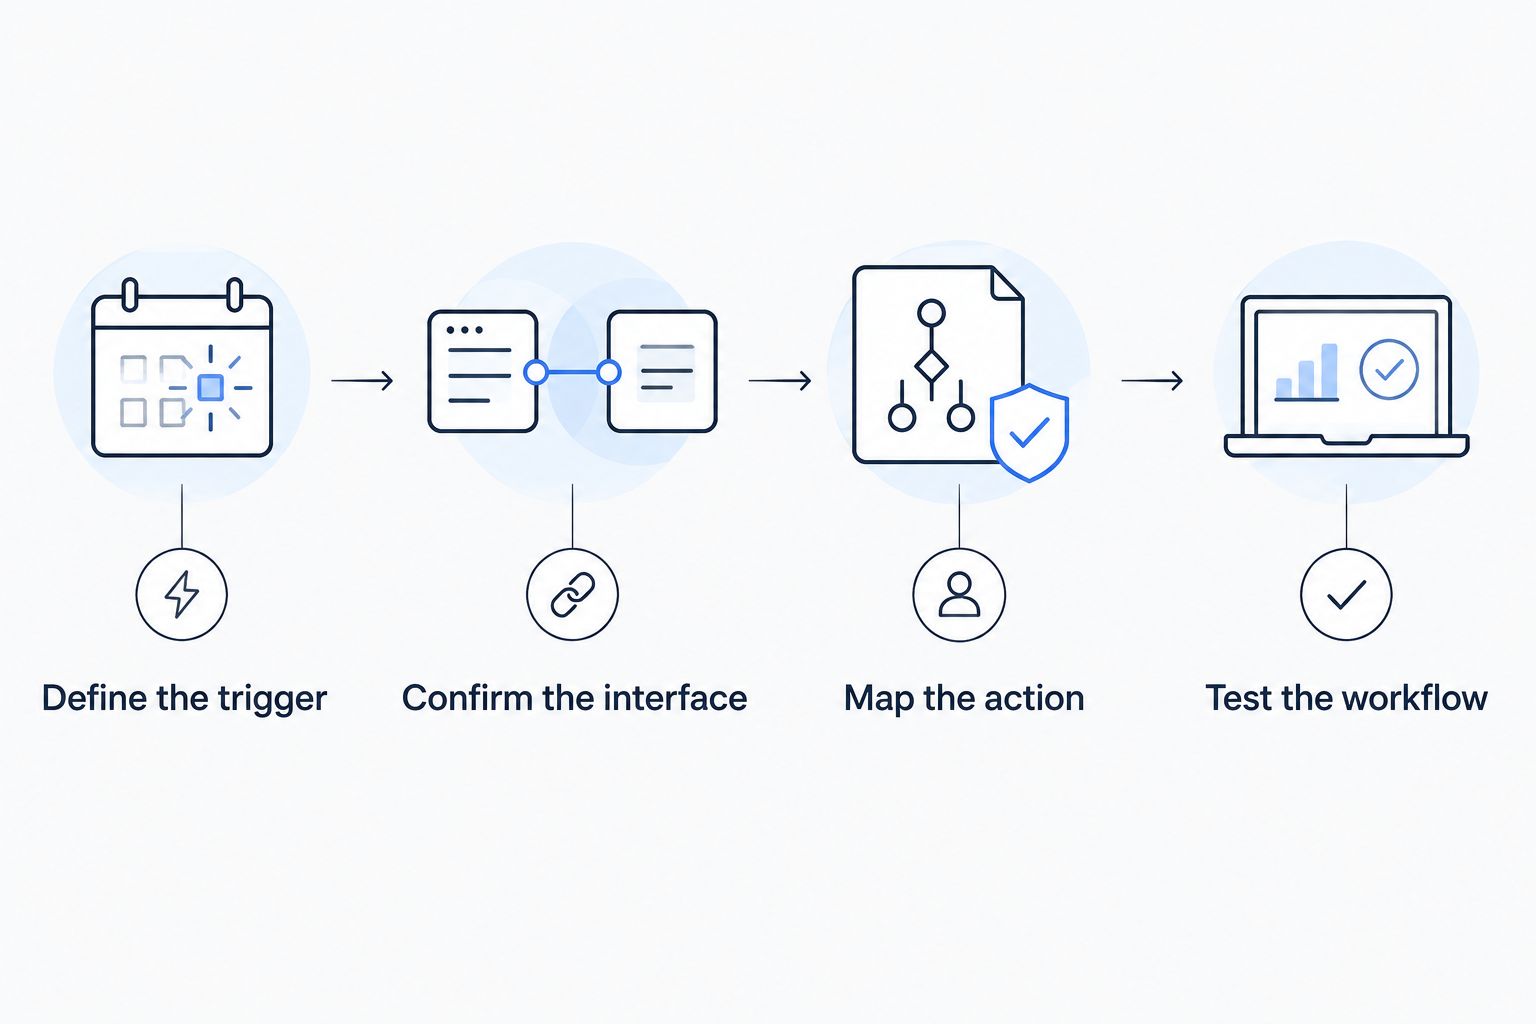
Define the trigger
- Write down the event that starts the workflow: authorized entry, door forced open, or door held open. Choose an event the access controller actually supports.
- Identify the source door and the destination alarm area. Keep unrelated doors and areas outside the initial rule.
- Specify the action: report an event, request a supported alarm-state change, or display alarm status. Do not treat these actions as equivalent.
- Define who is authorized to cause that action. Door access and alarm-disarm authority must be checked separately.
For the initial setup, reporting a door event is easier to validate than an automatic disarm rule. It lets you check the connection without changing the building's armed state.
If you need authorized entry to disarm an area, require the alarm provider to confirm a supported, permission-controlled method. Never connect a general door-unlock output to an alarm-disarm input just because both respond to a relay.
Expected result: You have a written rule naming the source event, destination area, permitted users, and intended action. Anyone reading it can distinguish unlocking from disarming.
Define failure behavior
Write down what happens when communication stops, controller power fails, or the alarm panel rejects a command. Do not leave failure behavior to assumption.
An integration failure must not become permission to disarm. Door behavior during power loss is a separate hardware and code question; the installer must preserve the approved egress arrangement.
Keep these decisions in the same 2026 commissioning record as the normal operating rule. A connection is not ready until its failure behavior is understood.
Interface configuration
There is no universal button sequence for connecting access control to an alarm system. Menu names, terminals, and available actions depend on the equipment. Follow the exact manufacturer's instructions rather than applying generic menu labels to your panel.
Confirm the interface
- Ask the installer to match the controller's documented output or integration connector to the alarm panel's documented input or supported software interface.
- For a relay connection, have the installer verify contact ratings, input requirements, and supervision. Where the diagram uses COM, NO, and NC, those mean common, normally open, and normally closed; they are not interchangeable.
- Confirm whether the supported action needs a maintained state or a momentary signal. Use the manufacturer's specified behavior rather than guessing a pulse duration.
- For software integration, authorize the documented connector with only the permissions required for the agreed workflow. Protect integration credentials from ordinary door users.
Do not feed lock power into an alarm input. Do not assume a relay marked for a door strike is suitable for alarm control. An installer must verify the circuit's purpose, not simply find an unused terminal.
For a supervised input, follow the alarm manufacturer's resistor values and placement instructions. Installing a resistor wherever it is convenient does not establish that the field wiring is supervised correctly.
Expected result: The installer has a documented electrical or software path between the systems, with compatible signal behavior and a clear supervision arrangement.
Alarm-area configuration
Map the action
- Have the alarm installer assign the receiving input or software event to the intended alarm area and supported function.
- Match the input's normal and active states to the controller's documented output behavior. Verify the resting state before triggering an event.
- Keep unrelated intrusion zones active. Avoid using permanent zone bypass as a shortcut for preventing authorized-entry alarms.
- If the integration reports alarm status back to access control, identify which states it reports. Armed, disarmed, alarm, and trouble are different conditions.
Door contacts and access readers perform different jobs. A reader records credential activity; a door contact reports whether the door is open or closed. A successful credential read does not prove the door closed afterward.
For a 2026 office installation, include a plain-language action description beside the technical configuration record. “Front entrance forced-open event reports to reception area” is clearer for staff than an unexplained output number.
Expected result: The selected event reaches the correct area and performs only the approved action. Normal entry does not silence unrelated protection.
Commissioning and staff handover
Test the workflow
- Coordinate testing with the alarm provider and monitoring service before generating alarm events. Follow their test procedure and confirm when normal monitoring resumes.
- Run 3 entry tests: an authorized credential, a denied credential, and a door opening without an accepted credential. Observe both systems, not just the lock.
- Have the installer test communication loss and applicable power-loss behavior under controlled conditions. Confirm emergency egress remains available throughout the approved test procedure.
- Compare timestamps, door names, area names, and actions in the available logs. Confirm the alarm's actual state rather than relying only on an access-control notification.
- Give staff written instructions for entry, arming, reporting trouble, and handling integration failure. Store administrator credentials securely and restrict configuration access.
A useful acceptance record has 2 log sources: access-control activity and alarm activity. If either system lacks an accessible log, document the installer's observation and the available verification method instead.
Expected result: Authorized entry, denied entry, abnormal opening, and connection failure produce their intended outcomes. Staff know how to operate the site without improvising around the integration.
Plan your commercial door setup
Discuss access-control installation in Middlesex County and coordinate alarm requirements with your alarm provider.
Report a forced-open door to the alarm system
A second useful workflow reports a door opening without a preceding authorized-access event. This differs from automatic disarming: the purpose is notification, not permission to enter.
- Confirm the door contact works and the controller supports forced-open event detection.
- Map the supported forced-open event to the agreed alarm input or software action.
- Configure authorized-exit handling according to the controller documentation and approved door arrangement. Normal egress must not be mistaken for forced entry.
- Test authorized entry, normal exit, and an opening without authorization while the alarm provider follows its testing procedure.
Best for: Businesses that need abnormal-door reporting without granting alarm-disarm authority to everyone who holds a credential.
The benefit is a clear event tied to a specific door. The limitation is that detection depends on correct door-contact operation and event configuration; a bad contact or incorrect exit handling produces misleading reports.
Keep a door-held-open rule separate. Forced open describes an opening without the expected authorization; held open describes a door remaining open beyond the configured allowance. Those events need different staff responses.
Troubleshooting
The alarm activates after valid entry
Check whether the credential authorized only the door or also the alarm action. Confirm the intended area and supported entry procedure with the alarm provider. Do not fix this by permanently bypassing the entrance zone.
The input remains active when nothing happens
Have the installer compare the relay's resting state with the alarm input's expected state. Incorrect normally open or normally closed selection, wiring faults, and supervision faults require different corrections; check the panel's diagnostic information before changing settings.
The systems show conflicting alarm status
Compare the actual panel state with the reported state and its timestamp. Check the software connection, event mapping, and permissions. Treat stale or missing status as a connection problem, not proof that the alarm is disarmed.
Normal exit produces a forced-open event
Check the door contact and the controller's documented authorized-exit handling. Correct the event configuration while preserving required egress. Do not require a credential to leave as a workaround.
Access works, but alarm integration stops working
Test the supported connector or relay path separately from the lock. For software, check authentication, network reachability, and supported versions; for wiring, have the installer inspect the output and receiving input. A working door reader does not verify the alarm connection.
Customize your workflow
Expand only after the initial door and area pass testing. Add each new door with its own event mapping, permissions, failure behavior, and acceptance record.
Use how to set up access control for a small business to plan the wider door-access setup. Separate staff entry, visitor access, and alarm administration instead of giving every user the same authority.
Apex Lock N Key provides commercial access-control installation; the alarm provider must confirm supported panel-side functions. The service fit is door hardware and access control, not an assumed guarantee that every alarm platform can integrate.
Review permissions whenever roles change. For your 2026 maintenance schedule, also require a controlled retest after relevant firmware updates, alarm-panel changes, or door-hardware replacement.
FAQ
How do I connect access control to an alarm system?
Use a manufacturer-supported relay interface or software integration between compatible equipment. Define the event, destination alarm area, permissions, and failure behavior before a qualified installer configures and tests the connection.
Can an employee badge unlock the door and disarm the alarm?
Yes, when both systems support that workflow and the employee has separate authorization to disarm the intended alarm area. Door-entry permission alone must not grant alarm-disarm permission.
Is a relay connection better than software integration?
A relay connection suits a simple supported signal; software integration suits supported workflows needing richer event context. A relay contact alone does not identify the user, while software adds connection and permission dependencies.
Can I wire the door lock directly to an alarm zone?
Do not connect lock-power wiring directly to an alarm-zone input. A qualified installer must verify the documented interface, electrical ratings, input behavior, and supervision requirements.
Will a standalone keypad lock work with my alarm system?
Only if the lock or its associated controller provides an interface the alarm system supports. Keypad entry by itself does not establish integration compatibility.
Does an intrusion-alarm connection handle emergency door release?
No, an intrusion-alarm connection is not automatically an emergency-release or fire-alarm interface. Required egress and emergency-release arrangements need their own qualified review and approved configuration.
Who should handle access control and alarm integration in Middlesex County?
Coordinate a commercial access-control installer with your alarm provider. Apex Lock N Key provides commercial lock and access-control installation in Middlesex County; the alarm provider must confirm alarm-panel compatibility and programming.
One last thing
An accepted credential proves authorization to attempt entry—not that the door closed, the alarm disarmed, or the building is secure. Make actual door position and actual alarm state part of the handover test. That distinction prevents a working reader from hiding a broken workflow.