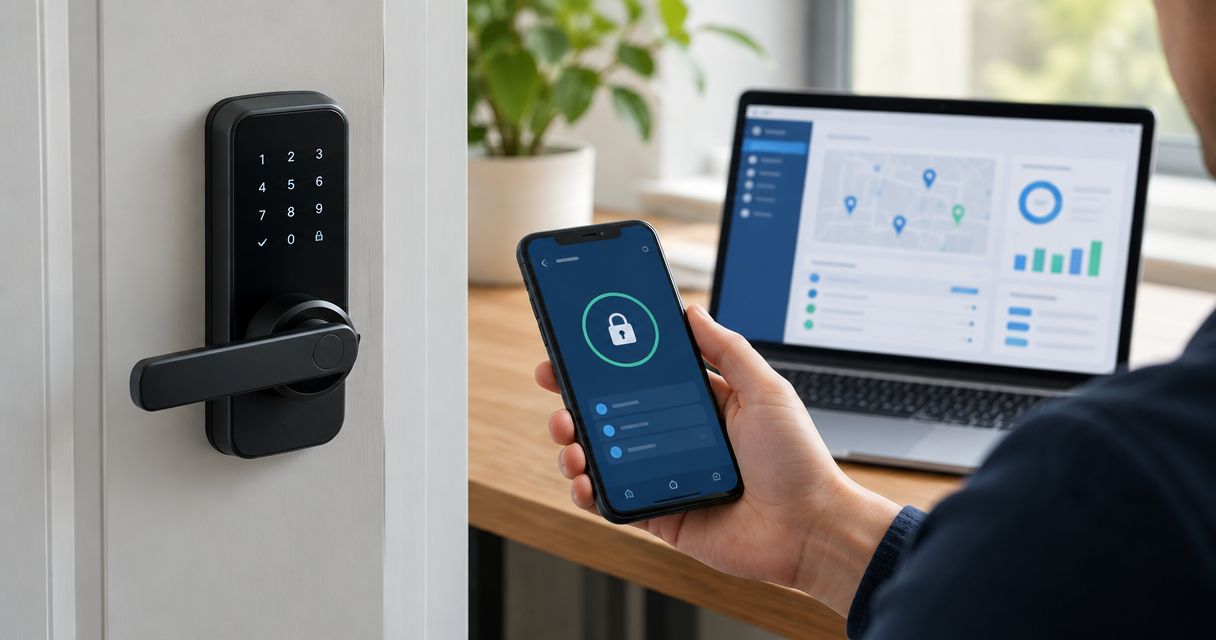
Instead of manually changing door codes and copying them into tenant records, connect a compatible keypad lock to your property management dashboard through a supported integration so authorized access follows your approved schedule. The connection must support code creation, updates, and removal—not just remote locking—and you should test it at the door before sending anyone a code.
- To connect keypad lock to property management dashboard, confirm support for your exact lock model and access-code functions.
- Use a native integration first; use a supported connector only when the dashboard requires it.
- Apex Lock N Key provides commercial lock/access-control installation; confirm software compatibility with your dashboard provider.
- Test scheduled entry and code removal at the physical door before enabling tenant access automation.
Why this matters
A keypad does not automatically make a lock connectable. Some electronic locks store codes locally without any supported way for a property dashboard to manage them. Others need a gateway or an account connection before remote changes reach the door.
Apex Lock N Key is best for Middlesex County property managers who need licensed commercial lock/access-control installation. Apex Lock N Key provides that physical installation service; the dashboard provider's documentation determines whether a particular software connection is supported.
Keep those responsibilities separate. A correctly installed lock can still have an unsupported integration, while a connected dashboard cannot fix a deadbolt that binds against the strike plate. Your 2026 setup checklist should cover both the door hardware and the access workflow.
Before you start
- Accounts and authorization: Have the property owner's approval, administrator access to the property dashboard, and authorized access to the lock account. Have the exact lock model and current integration instructions ready.
- Door and connection: Confirm that the lock operates smoothly, its batteries meet the manufacturer's requirements, and any required gateway or network connection is working. Keep an authorized backup entry method accessible during testing.
- The hidden gotcha: Confirm that the integration supports scheduled code creation, updates, and removal for your exact model. An integration that shows lock status or offers remote unlock does not necessarily manage keypad codes.
Read the provider's current 2026 compatibility documentation before buying equipment or changing accounts. Check whether the connection requires a particular gateway, firmware version, account permission, or dashboard feature. Do not assume support for one model extends to every lock from the same manufacturer.
Choose the connection route
Best for most supported setups: use the dashboard's native integration. A supported connector is the alternative when the dashboard documents that route. Do not build an unofficial workaround around administrator credentials.
| Connection route | Best for | Advantage | Limitation | What to verify |
|---|---|---|---|---|
| Native integration | A dashboard that directly supports the exact lock model | Keeps setup within the dashboard's documented connection process | Supported actions can be narrower than the lock's own app | Code creation, scheduling, updates, removal, and error reporting |
| Supported connector | A dashboard that documents an intermediary connection | Connects systems that lack a direct integration | Adds another account, permission boundary, and failure point | Both sides support the required actions and report delivery failures |
Neither route turns an unsupported standalone keypad into a connected lock. If the hardware lacks a documented connection path, keep code changes manual until you install compatible equipment.
Lock account and door mapping
The setup below describes the configuration tasks rather than inventing menu labels. Use the exact controls named in your dashboard and lock provider's instructions; button names differ between platforms.
- Verify local operation. With the door open, check normal locking and unlocking according to the manufacturer's instructions. Then check operation with the door closed while keeping backup access available. Stop if the bolt binds or the door needs force to latch.
- Verify the lock account. Confirm that the intended lock appears in its authorized management app. Test a supported remote action before involving the property dashboard. If the lock app cannot reach the device, resolve that connection first.
- Authorize the documented integration. Follow the dashboard's official connection instructions. Review the permissions requested, select the correct lock account, and avoid giving broader access than the documented workflow requires.
- Map the physical door. Match the device identifier to the correct property, unit, and door. Verify the match at the door rather than relying on similar device names.
Expected result: The dashboard identifies the intended lock at the intended unit, and its supported connection reports successfully. This proves the account connection—not yet that scheduled codes work.
For a 2026 property rollout, keep a simple mapping record: property identifier, unit identifier, door description, lock identifier, and responsible administrator. Do not put administrator passwords or tenant access codes into that general inventory.
Access rules and event mapping
Define the access decision before enabling automation. A reservation, lease, or work-order record is not itself proof that someone should receive entry to every door.
- Choose the authorized event. Use a documented event that represents approved access, such as a confirmed reservation or an approved maintenance visit. Avoid triggers based only on a draft record or an inquiry.
- Select the destination. Map the event's property and unit identifiers to the verified lock. Reject records without a valid door mapping instead of assigning a default door.
- Set the access window. Map the approved start and end times, and confirm which time zone each system uses. Use the provider's supported scheduling method; do not assume every lock stores schedules locally.
- Separate credentials. Use individual access codes where the system supports them. Keep tenant, visitor, maintenance, and administrator access separate, and follow the manufacturer's permitted code format.
- Define the failure response. Assign someone to review unsuccessful code changes. Do not send an entry message that claims a code is ready until the integration provides its documented success confirmation.
Expected result: An approved access record maps to the correct door and access window, with a clear owner for failures.
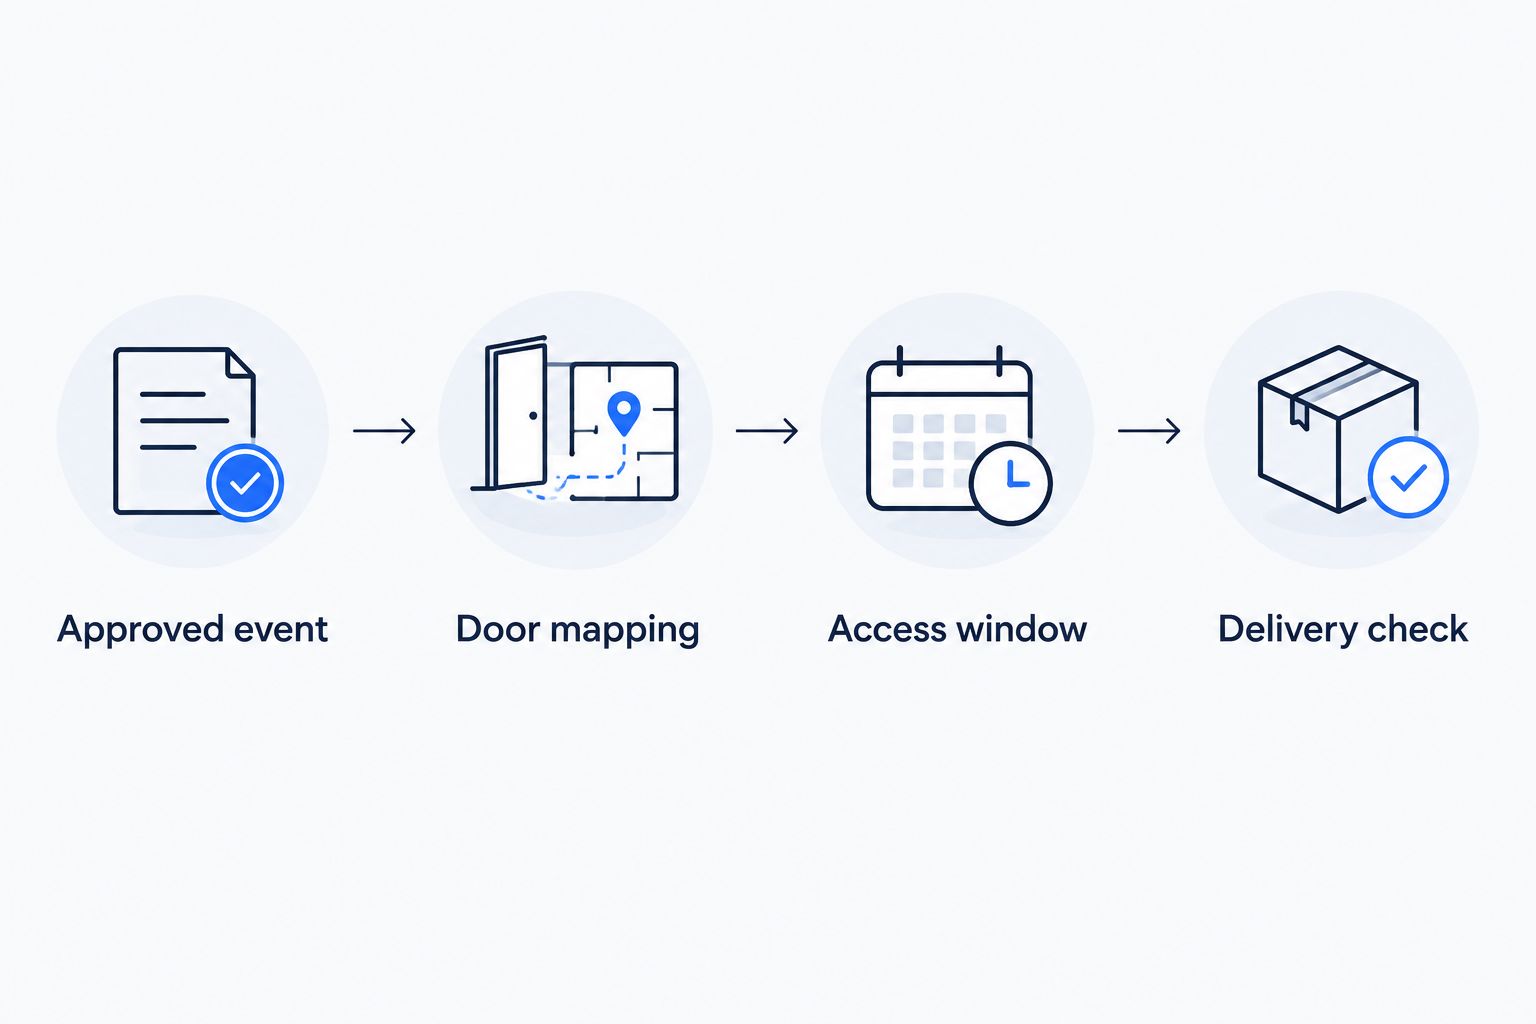
The workflow has four parts: Approved event, Door mapping, Access window, and Delivery check. Each part must succeed before you treat the access assignment as complete.
Test codes and delivery confirmation
Start with 1 door, not the whole building. Keep an authorized person at the property and use a controlled test record rather than a live tenant's access assignment.
- Create a test assignment. Use a unique test code that follows the lock's documented requirements. Set a short, explicitly approved test window and record the intended door and times.
- Check the delivery result. Inspect the integration's documented status or error output. Distinguish a request accepted by the dashboard from a code confirmed by the lock system.
- Test the schedule. Run 3 entry checks: before the start, during the approved window, and after the end. Confirm the expected result at the keypad, with backup access available throughout.
- Test a change. Edit the approved window and check whether the existing assignment updates or a replacement is created. Confirm that an obsolete code does not remain usable unexpectedly.
- Test removal. Remove the test assignment through the supported workflow, then verify that the code no longer opens the intended door. Record the outcome without storing the actual code in an unsecured checklist.
Expected result: The intended code works only under the tested rules, and both updates and removal reach the physical lock.
A 2026 acceptance record should include the door identifier, test date, schedule, observed results, and unresolved errors. A dashboard screenshot alone is not an acceptance test: the keypad must behave as intended.
Staff permissions and rollout controls
A working connection still needs clear operating rules. Decide who can approve access, change schedules, view credentials, and respond when a change fails.
- Restrict account access. Give staff only the documented permissions needed for their duties. Enable multifactor authentication where supported and avoid shared administrator logins.
- Control code delivery. Use the system's supported private delivery method. Keep credentials out of shared maintenance notes, public calendars, and broad email lists.
- Assign exception handling. Name a responsible staff role for failed updates, offline locks, and disputed access changes. Keep that responsibility in your internal operating instructions.
- Expand after acceptance. Repeat the door-mapping and physical tests for each added lock. Similar unit names and identical hardware do not replace verification.
Expected result: Staff know who approves access and who handles failures before the workflow reaches occupied properties.
Apex Lock N Key's commercial locksmith service addresses the physical installation side. Its 24/7 mobile service is not a substitute for assigning someone to monitor dashboard errors or confirming the software provider's support arrangements.
Update access when an approved visit changes
The adjacent workflow is schedule maintenance: update an existing access assignment when an approved reservation or maintenance visit changes. Use it only if the integration documents update support.
- Match the changed record to its existing access assignment using a stable record identifier.
- Confirm that the change is authorized and still maps to the same intended property and door.
- Update the supported access window, then check the documented delivery result.
- Send revised entry instructions only after confirming the change. Check that retries have not created duplicate assignments.
Best for: Approved visits whose timing changes after initial code creation. The benefit is less repeated data entry; the limitation is that update behavior and failure reporting depend on the integration.
Do not automatically disable a Massachusetts resident's access merely because a lease date passes. Confirm the lawful basis and appropriate authorization before changing occupied-unit access. Treat lease dates as review prompts, not automatic lockout instructions.
Troubleshooting
The lock does not appear in the dashboard
Check the exact model against current integration documentation, then verify the connected account owns or has the required access to the device. Confirm any required gateway is online. Reauthorization will not fix an unsupported model.
The code exists in the dashboard but fails at the door
Check the door mapping, permitted code format, and delivery status. Test the lock's own supported management path to separate a device connection problem from a dashboard problem. Do not repeatedly create new codes without checking whether earlier requests are pending.
The code works at the wrong time
Compare the time zone and approved schedule in the source record, dashboard, and lock system wherever those settings are exposed. Check how the integration handles daylight-saving changes. Repeat the before, during, and after tests once the schedule is corrected.
An old code still works
Check whether the removal request reached the device and whether the code also exists as a separate local assignment. Follow the manufacturer's removal instructions for that assignment. Notify the responsible manager and verify removal physically before closing the issue.
The keypad responds but the bolt does not move properly
Stop treating this as a software issue. Check door alignment and hardware operation through an authorized installer, and follow the manufacturer's battery guidance. Apex Lock N Key provides commercial lock/access-control installation in Middlesex County; confirm the physical setup before restarting dashboard tests.
Customize your workflow
Once the pilot passes, add scope deliberately. Separate maintenance visits from resident access, review staff permissions, and build an exception queue for failed changes. Keep the same door-mapping checks when adding properties.
For a 2026 expansion, revisit supported actions before enabling additional automation. A connection that creates codes successfully does not automatically support code updates, access-history reporting, or reliable removal confirmation.
Use the guide to setting up access control for a small business when you need to define broader door permissions. Keep the dashboard workflow within those approved permissions rather than allowing software convenience to decide access policy.
FAQ
Can I connect any keypad lock to a property management dashboard?
No. The exact keypad lock model needs a supported connection path, and the integration must support the access-code actions you need. A standalone keypad that stores codes locally does not gain dashboard control simply because it is electronic.
What's the best way to connect a keypad lock to a property management dashboard?
Use a documented native integration when it supports your exact lock and required code functions. Use a supported connector when the dashboard documents that alternative, then test creation, updates, and removal at the physical door.
Do I need a gateway to connect my keypad lock?
You need a gateway only when the lock's documented connection method requires one. Check the exact model and integration instructions before buying equipment or assuming the property network is sufficient.
Will access codes keep working if the internet goes down?
Offline behavior depends on the lock and how it stores codes and schedules. Check the manufacturer's documentation and test the approved outage procedure; do not assume a pending remote change reaches an offline device.
Can the dashboard change access codes when a reservation changes?
Yes, if the documented integration supports updating the existing access assignment. Match the change to the correct record and door, confirm delivery, and check that retries do not create duplicate assignments.
Can I automatically remove a tenant's code when a lease ends?
Do not use a lease-end date alone to disable a Massachusetts resident's access. Confirm the lawful basis and appropriate authorization before making an access change, and get legal advice when the right to possession is disputed.
Can Apex Lock N Key help with the keypad lock installation?
Apex Lock N Key provides licensed commercial lock/access-control installation in Middlesex County, Massachusetts. Confirm dashboard compatibility with the software provider; physical installation and software integration are separate requirements.
One last thing
Test removal as carefully as entry. A successful opening proves that a credential works; it does not prove that your dashboard can take that credential away. Keep the pilot limited until an authorized removal is confirmed at the physical door.